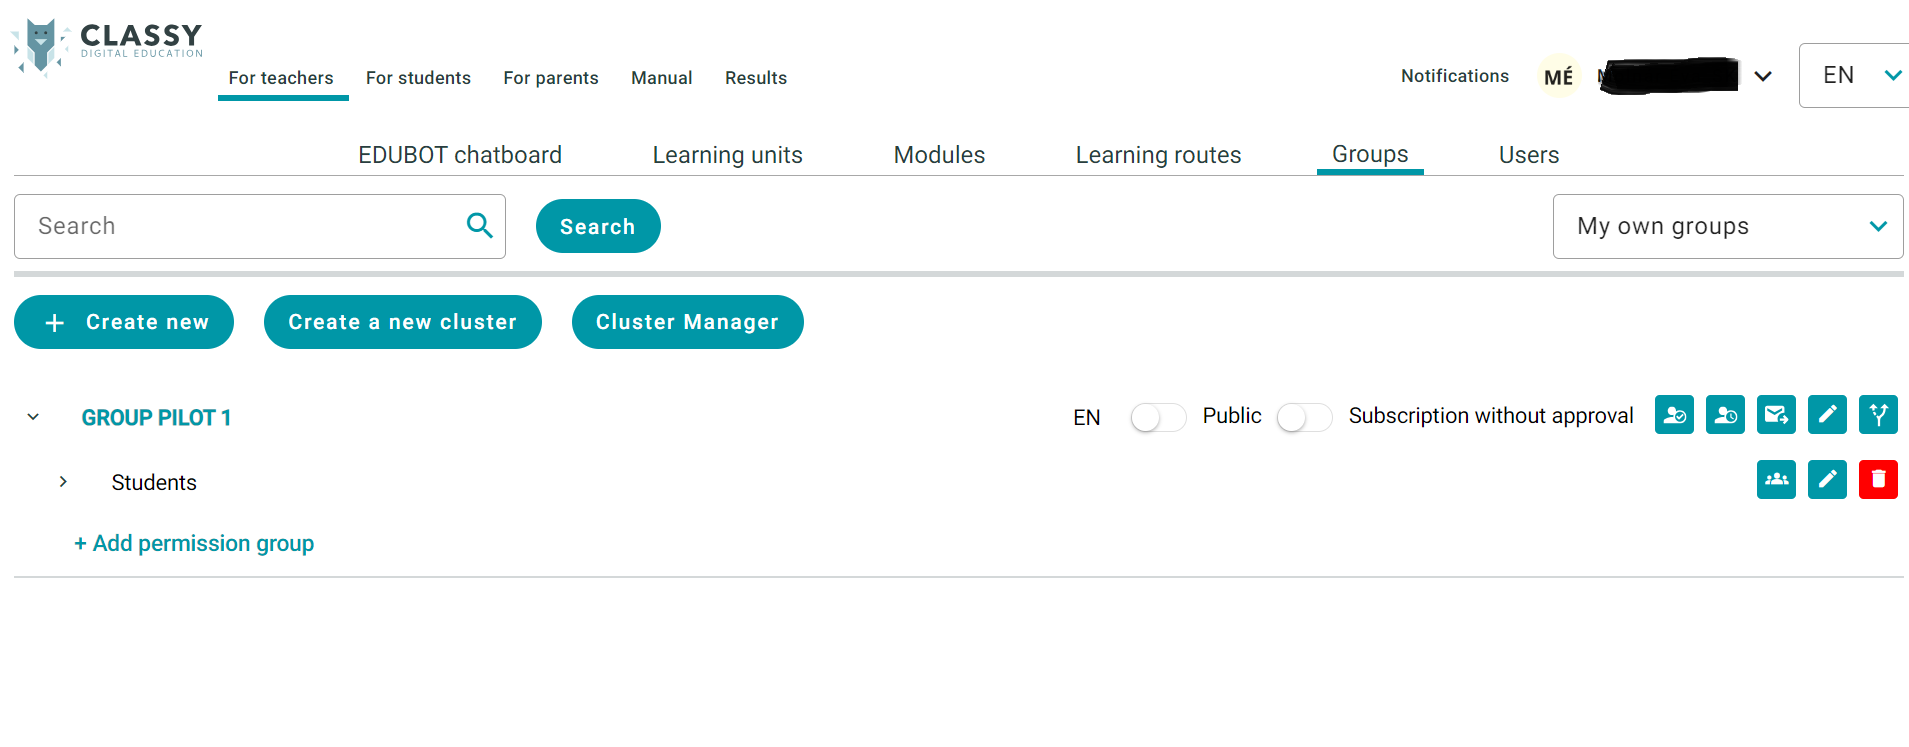
Permission groups must be created within the groups, so that the members can manage the contents of the group. Firstly you have to invite people or students to the group and after they accept the invitation you can add them to the permission group or create a permission group firstly and invite students directly into the group.

The below mentioned permissions can be set to permission groups. Within a permission group, not only one permission can be set, but any combination of them. Any number of permission groups can also be created and one person, one student can be included in several permission groups, but it must be kept in mind that in this case the student will have the authorizations belonging to all permission groups.
Based on the classification in the permission group, the members will have different rights regarding the content belonging to the group.
TIP:
A common mistake is that one or more students are admitted to a permission group where they have teacher-level permissions. Always make sure students are enrolled in the correct permission group.
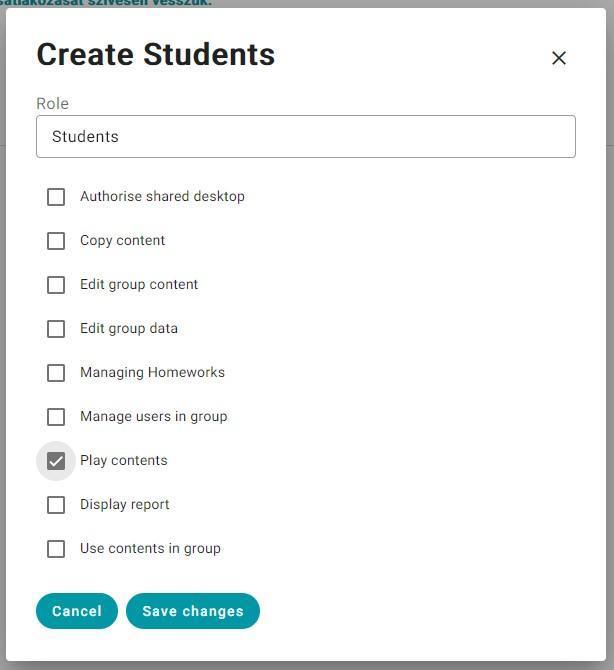
Permission overview - the following permissions can be set:
- Authorize shared desktop
- Copy content
- Edit group content
- Edit group data
- Managing Homeworks
- Manage users in the group
- Play contents
- Display report
- Use contents in the group
You have to name the role of the permission group, for example ‘Students’.
TIP:
Wen creating the permission group for students, we recommend that you only grant the following permissions: play contents

Pay attention!
A frequent error is that students forget the email address they used to join the group, and another frequent error, which sometimes causes them to be unable to enter the system, is that the student who previously used the interface did not log out, so the newly arriving student will already find himself on the specified interface, but under the name of another registered student, possibly in another group. Thus, the student may not be able to find certain content.
You can create a permission group for co-workers.
You can create a permission group not only for students but for your co-workers or optionally for parents as well. While creating a permission group for co-workers you should decided to allow the following permissions:
- Authorize shared desktop: about the shared desktop you can learn more here:
- Copy content: if you want to allow the co-worker to copy your already created content or in case if you join the group and you wanted to copy a content you should have this permission
- Edit group content: within this permission you can edit the whole group content.
- Edit group data:
- Managing Homeworks
- Manage users in the group
- Play contents
- Display report
- Use contents in the group
About how to manage group settings you can learn more here: https://www.edubot.hu/classy-user-manual-teachers/groups/creating-groups-and-group-settings
Now we are registered, and we created a group an a permission group. Let’s see how to browse groups.